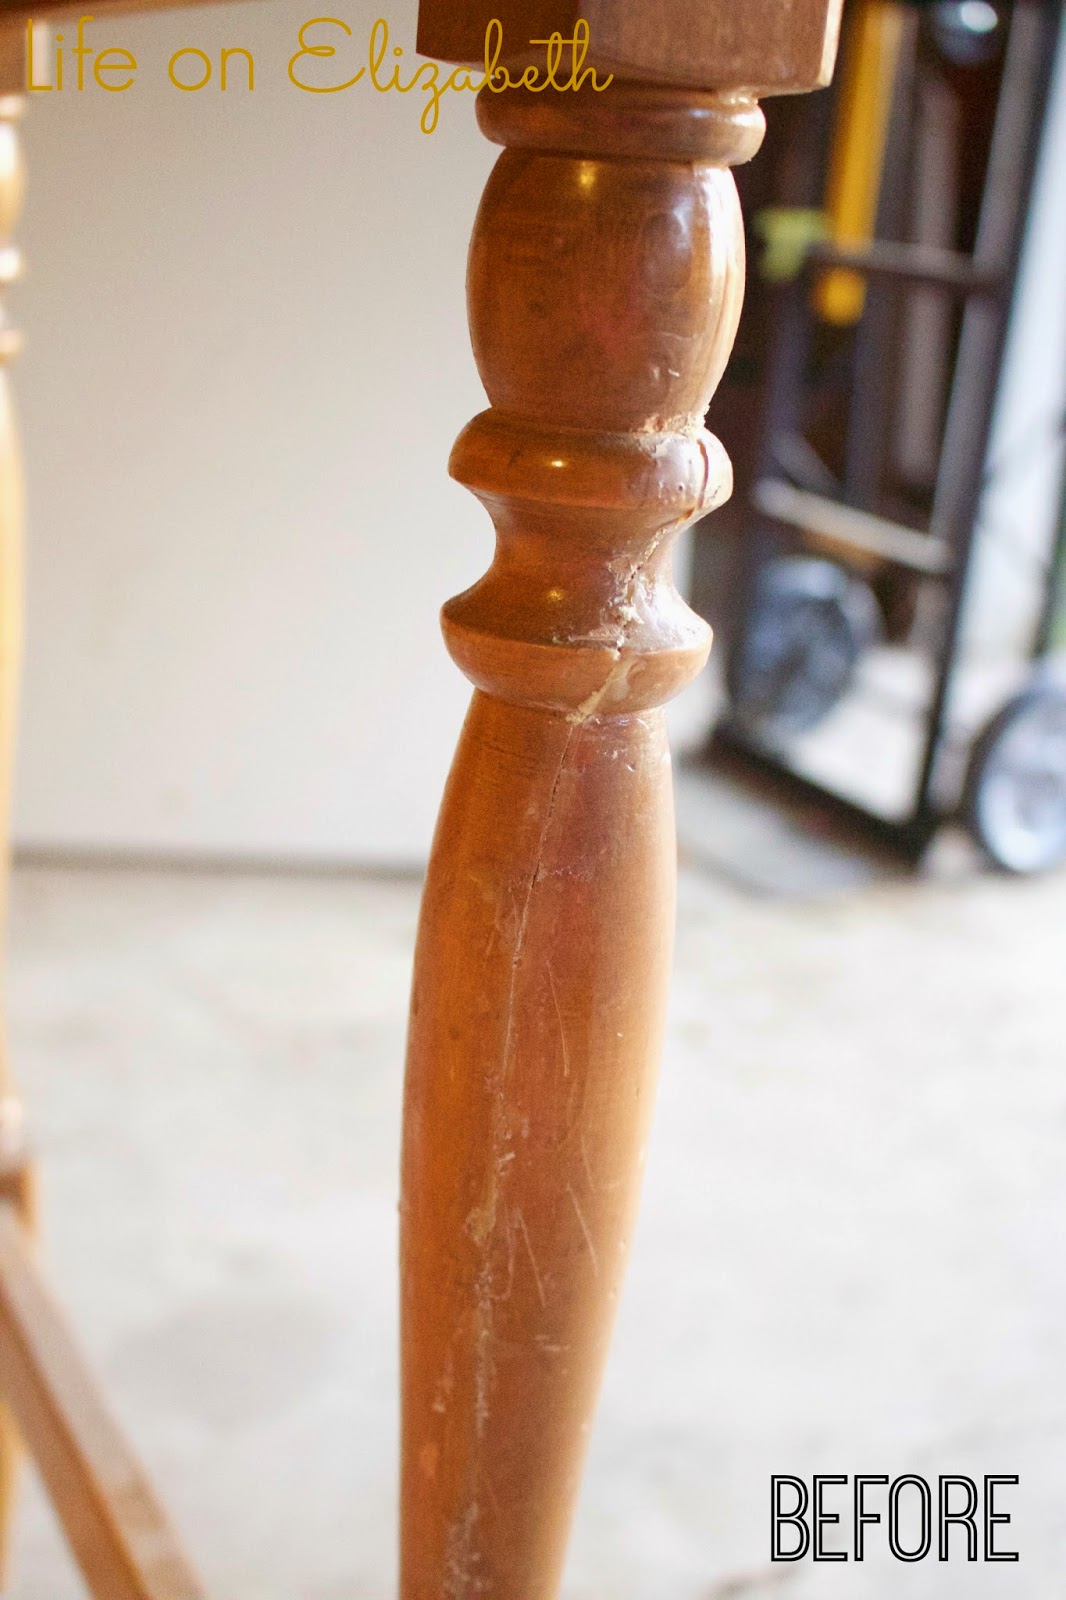
The desk was in pretty rough shape. The wood veneer on one side of the desk was peeling at the base and one of the legs was obviously broken at one time and someone had slapped some glue on it and called it a day. She also had a missing nail-in slider so every time I touched the desk, it would wobble like it was doing it's own lil' dance.
To start this project, I wanted to fix the peeling veneer. I tried gluing the layers back on using wood glue, but once I tried to sand the veneer to even out the surface, the layers just lifted again. It was super frustrating. I mean, I had waited 2 whole days for the wood glue to completely dry and within a matter of a few seconds of sanding the veneer lifted? The Hulk inside me came out and I decided to just rip the strips of peeling veneer off the desk. I then used wood filler and filled in any gaps and prayed that once it dried, I could sand it and everything would be even and smooth. Well guess what? It worked! So after waiting 24 hours and sanding the side of my table, this is what it looked like:
Spiffy right? Ok, well I would understand if you're thinking 'No, not spiffy. Ugly, actually', but you just wait for the good part m'kay?
Next, I wanted to even out the surface on the legs of my table. There were globs of dried glue and an obvious gap from where the leg had previously been broken. I sanded the glue off the legs to smooth it out, used wood filler again to fix any obvious gaps, and then sanded again to smooth out the wood filler. Wood filler was definitely my friend on this project.
To fix the wobbly-ness, I just popped off the old nail-on sliders and nailed in new ones I got from my local hardware store. Easy peasy!
After fixing my desk to make sure it was solid and sturdier than when I got it, I cleaned and painted the desk following the steps I used in my side table makeover. I topped the desk off with a piece of plexiglass I had cut down to size at Lowes to protect the tabletop and rub n' buffed the hardware in gold. This is what the desk looks like now:
Not bad for $27 spent right? Considering that this desk was a gift and I used supplies and materials I already had, I only had to spend money on the plexiglass! Woot Woot! Have you checked out your local ReStore? When I first read about ReStore on Young House Love, I thought it was just an East Coast thing, but to my surprise there are actually quite a few sprinkled all over California. ReStore is like my little secret source for old furniture. What places do you usually hit up for old pieces?


No comments:
Post a Comment